


Introduction to Fun Science Experiments
Science experiments can be a fantastic way for homeschoolers to learn and explore the world around them. These activities not only spark curiosity but also provide practical experience with scientific concepts. In 2026, many families are looking for engaging ways to teach children about science. Fun science experiments can make learning enjoyable and memorable. Whether you’re a seasoned homeschooler or just starting, you will find something valuable in these experiments.
The beauty of science is that it encompasses many fields, including biology, chemistry, physics, and earth science. This article will guide you through ten fun and educational science experiments that you can easily do at home. Each experiment will include clear instructions, explanations of the science behind it, and tips for success. Let’s dive into the world of science and explore these exciting experiments together!
1. Baking Soda and Vinegar Volcano
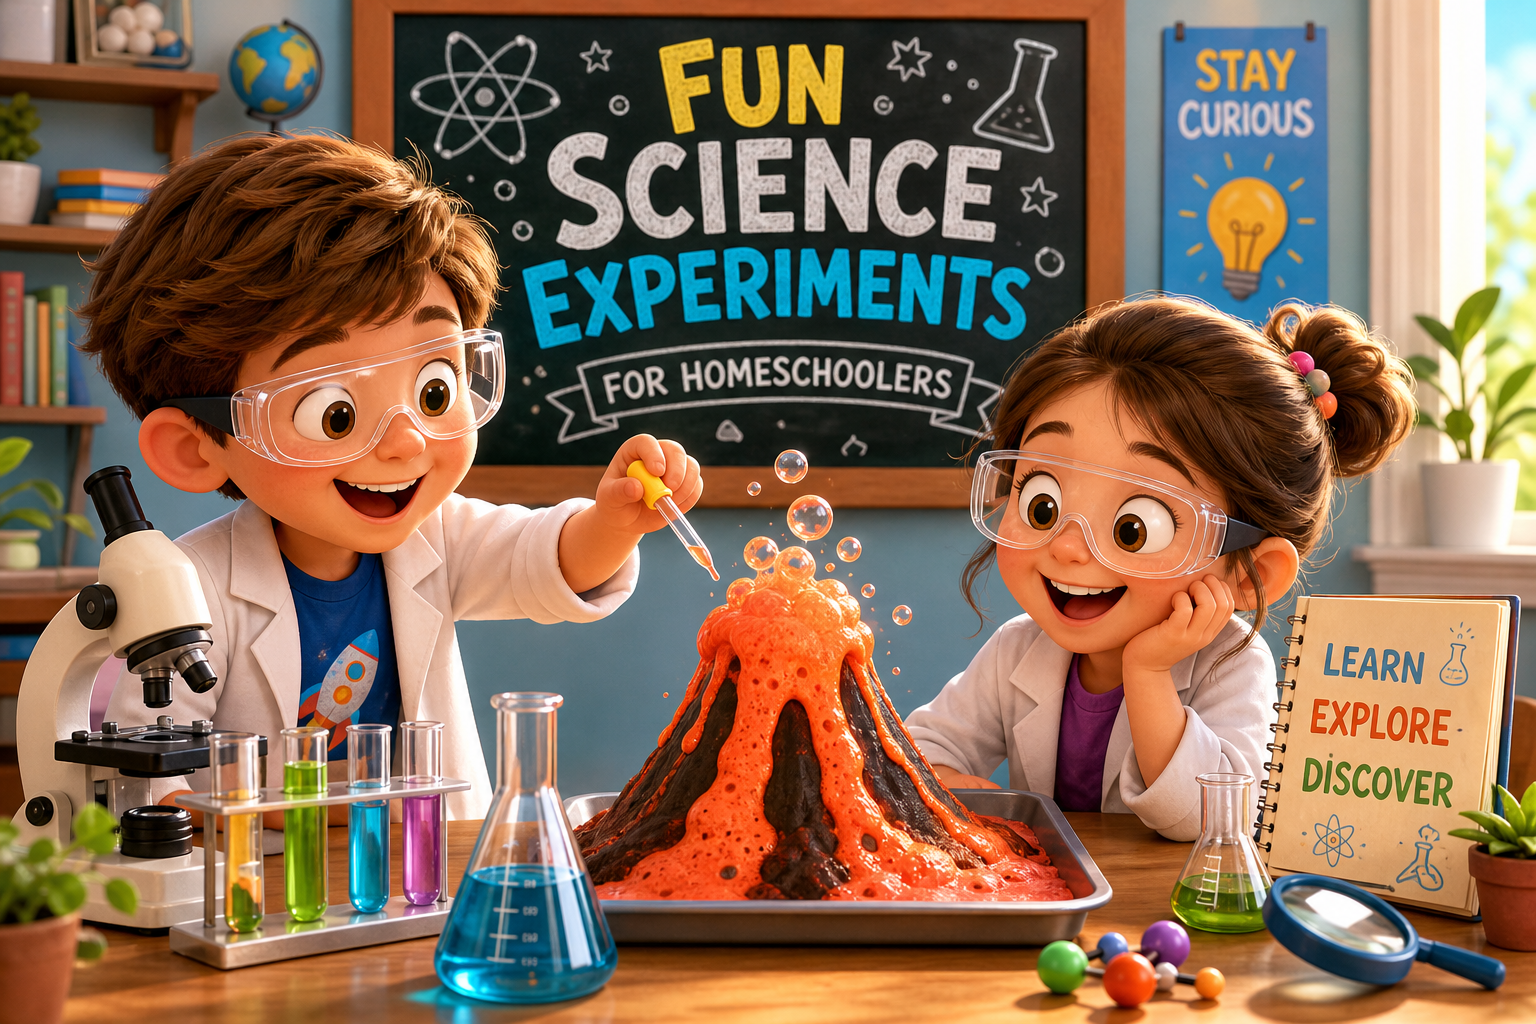
One of the most classic experiments is the baking soda and vinegar volcano. This experiment demonstrates an acid-base reaction. You will need baking soda, vinegar, food coloring, and a container, like a plastic bottle or cup, to create your volcano.
Start by placing the container on a tray to catch any overflow. Add about two tablespoons of baking soda to the container. Next, mix a few drops of food coloring with vinegar in a separate cup. Pour the colored vinegar into the container with baking soda slowly. Watch as it fizzes and erupts like a volcano!
This experiment is not only fun but also teaches kids about chemical reactions. Explain how baking soda is a base and vinegar is an acid. When they mix, they produce carbon dioxide gas, which creates the fizzing effect. Encourage your children to think of other materials they could use to create different colored eruptions!
2. Homemade Lava Lamp
Creating a homemade lava lamp is a visually stunning experiment that combines science and art. For this project, you will need a clear bottle, water, vegetable oil, food coloring, and Alka-Seltzer tablets. The oil and water will separate, creating a beautiful visual effect.
Fill a clear bottle one-quarter full with water. Add about two tablespoons of vegetable oil. The oil will float on top of the water because it is less dense. Next, add a few drops of food coloring to the mixture. The food coloring will mix with the water but not the oil.
Finally, break an Alka-Seltzer tablet into pieces and drop them into the bottle one at a time. Watch as colorful bubbles rise and fall, resembling a lava lamp. This experiment illustrates the concepts of density and chemical reactions. Discuss with your children why the oil and water do not mix and how the bubbles form.
3. DIY Slime
Making slime is a popular activity that kids love. It is simple to make and offers endless opportunities for creativity. To make basic slime, you will need glue, baking soda, contact lens solution, and food coloring.
Start by mixing one cup of glue with one tablespoon of baking soda in a bowl. Stir until well combined. Next, add a few drops of food coloring for a fun twist. Slowly add contact lens solution to the mixture while stirring. You will see the slime start to form. Knead the slime with your hands until it reaches the desired consistency.
This experiment teaches about polymers and the science of materials. Discuss with your children how the ingredients interact to create the slime’s stretchy texture. You can also experiment with different ratios of glue and baking soda to see how it affects the slime’s properties.
4. Invisible Ink
Invisible ink is a fun way to combine science with creativity. This experiment uses lemon juice, a cotton swab, and a heat source to create secret messages. It is a great way to introduce kids to organic chemistry.
Start by squeezing some lemon juice into a small bowl. Dip a cotton swab into the lemon juice and use it to write a message on a piece of white paper. Let the paper dry completely. To reveal the message, hold the paper near a heat source, like a light bulb or an iron (with adult supervision). The heat will turn the lemon juice brown, revealing the hidden message.
This experiment shows how heat can change the properties of certain substances. Talk about how lemon juice contains organic compounds that react to heat. Encourage your children to write and decode each other’s secret messages for added fun!
5. Building a Simple Circuit
Understanding electricity is essential in science. Building a simple circuit is an exciting way for children to learn about how electricity flows. For this experiment, you will need a battery, a light bulb, and some wires.
Start by connecting one wire to the positive end of the battery. Attach the other end of the wire to one terminal of the light bulb. Connect another wire from the other terminal of the light bulb to the negative end of the battery. When the connection is complete, the light bulb should light up!
Discuss with your children how electricity travels through the circuit. Explain the difference between open and closed circuits. Challenge them to create different circuits using more light bulbs or other devices, like a buzzer, to see how it changes the outcome.
6. Water Filtration Experiment
This experiment demonstrates how filtration works and the importance of clean water. You will need a plastic bottle, sand, gravel, activated charcoal, coffee filters, and dirty water (you can make this with soil and water).
First, cut the bottom of the plastic bottle off and invert it to create a funnel. Place a coffee filter inside the neck of the bottle. Layer activated charcoal, sand, and gravel in the bottle. Pour the dirty water through the filter. Collect the filtered water in a container below.
As the water passes through the layers, it should become clearer. Discuss the role of each material in filtering the water. This experiment provides an opportunity to talk about water pollution and the importance of clean drinking water. You can even test the clarity of the filtered water against the original sample.
7. Rainbow in a Jar
Creating a rainbow in a jar is a colorful experiment that teaches about density. You will need honey, dish soap, water, vegetable oil, and food coloring. Each liquid has a different density, allowing them to layer without mixing.
Begin by pouring a layer of honey into the bottom of a clear jar. Next, slowly add a layer of dish soap. Use the back of a spoon to help pour the soap gently to prevent mixing. Then, mix water with food coloring and pour it in as the third layer. Follow this with vegetable oil, pouring it slowly to create distinct layers.
This visually striking experiment illustrates the concept of density. Discuss with your children why some liquids float while others sink. Encourage them to think about how they could add additional layers with different liquids for even more colors.
8. Balloon Rocket Experiment
The balloon rocket experiment is a fun way to explore the principles of propulsion. For this activity, you will need a balloon, a straw, string, and tape. This experiment is simple yet demonstrates the basics of physics.
First, thread a long piece of string through the straw and tie it between two points, like chairs or door handles. Inflate a balloon but do not tie it. Instead, use tape to attach the balloon to the straw. Make sure the opening of the balloon is pointing backward.
Release the balloon and watch it rocket along the string! This experiment shows how action and reaction work. Discuss with your children how the air escaping from the balloon propels it forward. Encourage them to experiment with different balloon sizes to see how it affects speed and distance.
9. Crystal Growing Experiment
Growing crystals is a fascinating way to explore the world of chemistry. For this experiment, you will need sugar, water, a pot, and a clean jar. This project takes a few days but is well worth the wait.
Start by boiling one cup of water in a pot. Gradually add sugar, stirring until it dissolves completely. Continue adding sugar until no more can dissolve. Remove the pot from heat and let the solution cool. Pour the solution into a clean jar and place it in a cool, undisturbed area.
Over the next few days, crystals will begin to form in the jar. Discuss the process of crystallization and how different factors, like temperature, can affect crystal growth. Encourage your children to observe changes daily and take notes on their findings.
10. Egg in a Bottle Experiment
The egg in a bottle experiment is a classic demonstration of air pressure. For this experiment, you will need a hard-boiled egg, a glass bottle with a neck slightly smaller than the egg, and matches or a lighter.
Start by peeling the hard-boiled egg. Then, light a small piece of paper and drop it into the bottle. Quickly place the egg on the bottle’s opening. The flame will heat the air inside the bottle, causing it to expand. When the flame goes out, the air inside cools and contracts, creating a vacuum that pulls the egg into the bottle.
This experiment is a fantastic way to explain the principles of air pressure and temperature. Discuss how the heat causes the air to expand and how cooling creates a vacuum. Challenge your children to think of other materials that could be used in similar experiments.
Science experiments are a wonderful way to inspire curiosity and foster a love for learning in children. The ten experiments outlined in this article provide engaging opportunities for homeschoolers to explore various scientific concepts. From chemical reactions to understanding physics, these activities are sure to create memorable learning experiences.
As you conduct these experiments, encourage your children to ask questions and explore their curiosity. Science is all about discovery, and each experiment can lead to new questions and ideas. Happy experimenting!