


Introduction to Simple Experiments
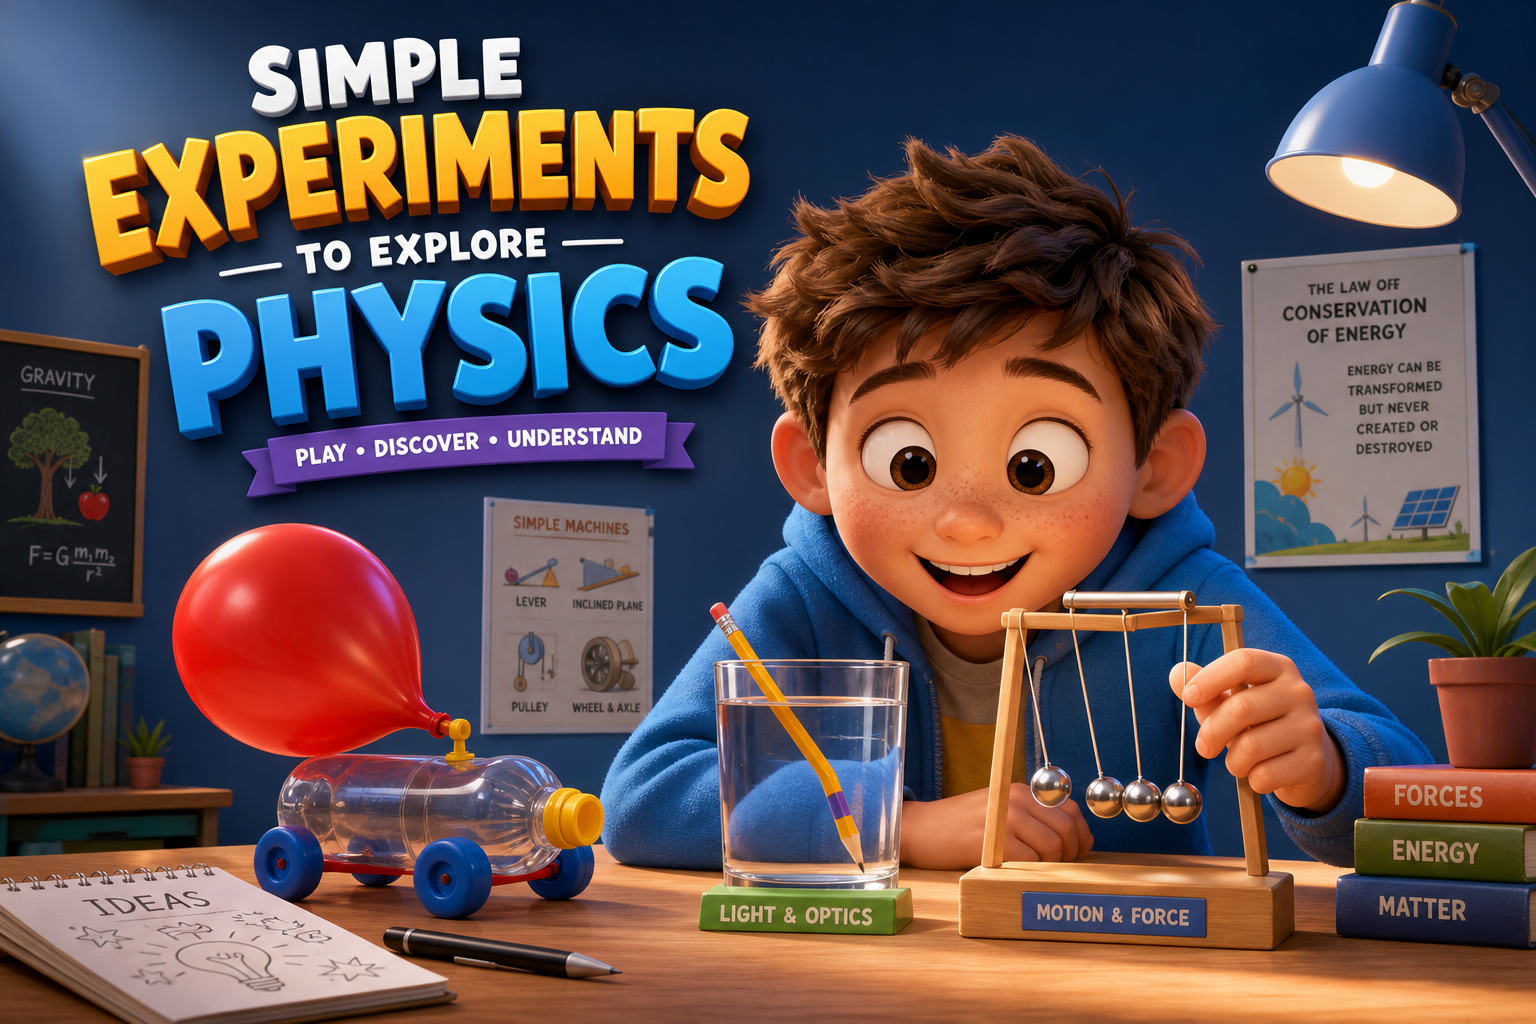
Simple experiments are a fun and effective way to explore physics. They help illustrate complex ideas in a hands-on manner. By conducting these experiments, you can better understand principles like force, motion, and energy. In 2026, these activities are more accessible than ever, thanks to easy-to-find materials and online resources. Whether you are a teacher, student, or just curious, these experiments will offer valuable insights into the world of physics. In this article, we will discuss nine engaging experiments that you can try at home or in the classroom.
The Classic Balloon Rocket
The balloon rocket is a fantastic way to understand Newton’s third law of motion. This law states that for every action, there is an equal and opposite reaction. To set up this experiment, you will need a balloon, a long piece of string, a straw, and tape. First, thread the string through the straw and secure it between two fixed points, like chairs. Next, inflate the balloon without tying it and tape it to the straw. Finally, release the balloon and watch it propel along the string. The air rushing out of the balloon pushes it forward, illustrating the principle of action and reaction. This experiment is not only simple but also visually exciting, making it perfect for students of all ages.
Materials Needed
- Balloons
- String
- Straw
- Tape
- Two fixed points (like chairs)
Steps to Follow
- Set up the string between two points.
- Thread the straw onto the string.
- Inflate the balloon and tape it to the straw.
- Release the balloon and observe the motion.
The Egg Drop Challenge
This experiment is a classic that teaches about gravity, impact, and design. The goal is to protect an egg from breaking when it is dropped from a height. You will need an egg, various materials for cushioning (like cotton balls, straws, or bubble wrap), and a container. Each participant can design their protective device for the egg. When ready, drop the egg from a predetermined height. After the drop, check if the egg survived. This experiment encourages creativity and critical thinking as participants consider how to best protect the fragile egg. It’s a great way to learn about forces and impacts in a fun and engaging way.
Materials Needed
- Egg
- Cushioning materials (cotton balls, straws, bubble wrap)
- Container for the egg
Steps to Follow
- Gather your materials.
- Design a container to protect the egg.
- Drop the container from a height.
- Check if the egg is intact.
Exploring Density with Oil and Water
This experiment demonstrates the concept of density. You will need a clear container, water, cooking oil, and food coloring. Start by filling the container halfway with water. Next, add a few drops of food coloring to the water for visibility. Then, slowly pour the cooking oil into the container. Observe how the oil floats on top of the water. This happens because oil is less dense than water. As you conduct this experiment, you can also discuss how density affects the buoyancy of objects. This visual demonstration is memorable and provides a clear understanding of density in a simple way.
Materials Needed
- Clear container
- Water
- Cooking oil
- Food coloring
Steps to Follow
- Fill the container halfway with water.
- Add food coloring to the water.
- Slowly pour cooking oil into the container.
- Observe the separation of the liquids.
The Paper Airplane Experiment
Creating paper airplanes is a simple yet effective way to explore aerodynamics. You will only need paper to get started. Make several different designs of airplanes. This can include the classic dart shape, the glider, or any unique design you come up with. After making them, test each airplane by throwing them in the same space. Measure the distance each airplane travels. This experiment focuses on understanding the forces acting on an airplane, such as lift, drag, and thrust. It allows for creativity and testing different designs. You can even incorporate a discussion about how real airplanes are designed.
Materials Needed
- Paper
- Measuring tape
Steps to Follow
- Create different paper airplane designs.
- Throw each airplane and measure the distance.
- Discuss which design flew the farthest and why.
Making a Simple Compass
Creating a simple compass helps illustrate magnetic fields and navigation. To do this, you will need a needle, a magnet, a small piece of cork, and a bowl of water. First, magnetize the needle by rubbing it with the magnet in one direction. Next, push the needle through the cork and place it in the bowl of water. The needle will align itself with the Earth’s magnetic field, allowing you to find north. You can discuss how compasses work and their importance in navigation. This experiment is not only educational but also fun, as it connects physics with real-world applications.
Materials Needed
- Needle
- Magnet
- Cork
- Bowl of water
Steps to Follow
- Rub the needle with the magnet.
- Push the needle through the cork.
- Place the cork in the bowl of water.
- Observe the needle aligning with north.
Building a Simple Circuit
This experiment introduces basic electrical concepts. You will need a battery, a small light bulb, and some wires. Start by connecting one wire from the positive terminal of the battery to one terminal of the light bulb. Then, connect another wire from the other terminal of the bulb back to the negative terminal of the battery. When you complete the circuit, the bulb will light up. This simple experiment demonstrates how electricity flows and helps understand the fundamentals of circuits. You can discuss series and parallel circuits and how they differ.
Materials Needed
- Battery
- Small light bulb
- Wires
Steps to Follow
- Connect one wire from the battery to the light bulb.
- Connect the second wire from the bulb to the battery.
- Observe the bulb lighting up.
Creating a Homemade Thermometer
A homemade thermometer is a great way to learn about temperature and expansion. You will need a clear bottle, water, food coloring, and a straw. Begin by filling the bottle about a quarter full with water. Add a few drops of food coloring for visibility. Then, insert the straw into the bottle and seal the opening with clay or tape to prevent air from escaping. As the temperature changes, the water level in the straw will rise or fall. This experiment illustrates how liquids expand and contract with temperature changes. It is a hands-on way to understand temperature measurement.
Materials Needed
- Clear bottle
- Water
- Food coloring
- Straw
- Clay or tape
Steps to Follow
- Fill the bottle with water and add food coloring.
- Insert the straw and seal the bottle.
- Observe the water level in the straw as temperatures change.
Engaging in simple experiments is a fantastic way to explore physics concepts. Each of the experiments mentioned above provides hands-on learning opportunities that are both fun and educational. They encourage curiosity, creativity, and critical thinking. These activities can be easily conducted at home or in classrooms, making them perfect for students and anyone interested in science. Remember, the key to learning is exploration and experimentation. So, gather your materials and start exploring the fascinating world of physics today!